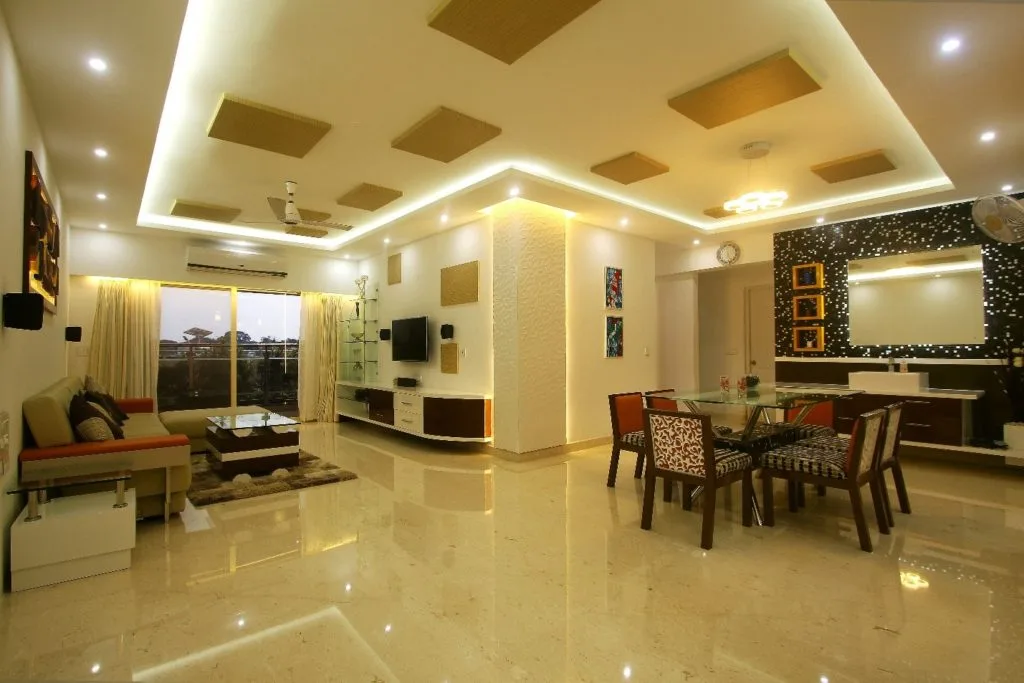
Phase 1: Pre-Design (Before Anything Starts)
Phase 1 Pre-Design Checklist
- Receive builder handover and document all defects in writing (date and photograph everything)
- Check what the builder has completed — flooring, tiles, painting, electrical points
- Measure all rooms accurately (length, width, ceiling height, door/window positions)
- Note positions of all existing electrical points, switch boxes, and AC provisions
- Note existing plumbing points and drainage in kitchen and bathrooms
- Document existing tile pattern and grout lines (for matching or complete redo decision)
- Check for any seepage, crack, or water damage that must be fixed before interior work
- Get the builder's completion certificate and structural drawings if available
- Set your total interior budget with a 10% contingency buffer
- Shortlist and brief 2–3 interior designers — get detailed quotes
Phase 2: Design Phase
Phase 2 Design Phase Checklist
- Agree on design style, mood board, and colour palette
- Review and approve 2D floor plan with furniture layout
- Review and approve 3D visualisations for key rooms
- Confirm all material specifications in writing (brand, model, colour code, finish)
- Confirm electrical layout (point positions, switch positions, lighting zones)
- Confirm false ceiling design and cove lighting positions
- Approve kitchen layout and modular kitchen design
- Approve wardrobe internal layout for all bedrooms
- Confirm AC brand, capacity, and installation positions
- Sign interior design contract with clear scope, timeline, payment milestones
Phase 3: Execution Order (This Sequence Matters)
Phase 3 Execution Sequence
- Civil work first: demolition (if any), masonry changes, wall modifications
- Waterproofing: bathroom floors and walls, kitchen slab, terrace if applicable
- Rough electrical work: conduit laying, wiring, earthing (before walls are plastered)
- Rough plumbing: water supply and drainage routing changes
- Tiling: floor tiles, wall tiles in kitchen and bathrooms
- False ceiling: GI frame, gypsum board installation, cove LED strip housing
- Painting: putty, primer, paint on walls and ceiling (before carpentry installation)
- Modular kitchen installation
- Wardrobe and other carpentry installation
- TV unit, crockery unit, and other built-in furniture
- Final electrical fittings: switch plates, light fixtures, fan, AC indoor unit
- Plumbing fittings: taps, showerheads, sanitaryware, geyser
- Soft furnishings: curtains, blinds
- Accessories and decor: mirrors, artwork, plants, cushions
Phase 4: Final Checks and Punch List
Phase 4 Final Checklist Before Moving In
- All cabinet and wardrobe doors open, close, and align correctly
- All electrical switches and sockets tested — none dead
- All lights working, including cove LED strips
- All AC units running and cooling effectively
- All taps running with no leaks; all drains draining without blockage
- Painting touch-ups completed — no bare patches, roller marks, or paint on tiles
- Grout lines clean and epoxy-sealed where required
- False ceiling joints smooth — no visible seams or cracks
- Wardrobe internal shelves at correct heights, all accessories installed
- Kitchen countertop sealed, no chips or stains
- Site completely cleaned — no construction debris anywhere
- Punch list documented and signed off
Documents to Keep After Completion
- Signed interior design contract with scope and warranty terms
- Approved 3D drawings and material specification list
- All appliance warranty cards (AC, kitchen appliances, water heater)
- Paint brand and colour codes for all rooms (for future touch-ups)
- Tile brand, series, and size (for future matching if breakage occurs)
- Laminate brand and shade code for kitchen and wardrobes
- Electrical layout diagram showing wiring and circuit breakers
- Plumbing layout showing pipe routes (photograph before walls are closed)
- Interior designer's/contractor's contact for warranty claims
- Photographs of completed work — especially hidden elements
At Homeli, we hand over a complete project documentation kit at handover — all specs, warranty cards, and photographs compiled for you. This is part of our standard service and protects you for years after the project.
Frequently Asked Questions
Civil → Waterproofing → Rough electrical and plumbing → Flooring → False ceiling → Painting → Carpentry → Final electrical fittings → Plumbing fixtures → Soft furnishings and accessories. Never install carpentry before painting — you'll damage the new furniture with paint overspray.
A standard 2BHK in Chennai takes 45–60 working days from design approval to handover. A 3BHK takes 60–75 days. Premium projects with custom carpentry or imported materials can take 90–120 days. Timeline starts after builder handover.
Keep: signed contract, approved drawings and material specs, all appliance warranty cards, paint/tile/laminate codes for future touch-ups, electrical and plumbing layout diagrams, and the designer/contractor's contact for warranty claims. Homeli provides a complete documentation kit at handover.